What Bird Call Is This? A Practical Audio Checklist Before You Scan
Quick, practical audio and visual checks to answer “what bird call is this?” Use this checklist to capture clearer recordings before scanning with an app.
Quick answer for what bird call is this
If your question is "what bird call is this? " start by treating the sound as a data sample: high confidence requires a clean, repeated, and well-documented recording plus any visual clues you can safely note. A short, loud chirp or one-second call can point toward a family of species, but a longer sequence, consistent pattern, and context (time, habitat, behavior) raise the chance of a useful match.
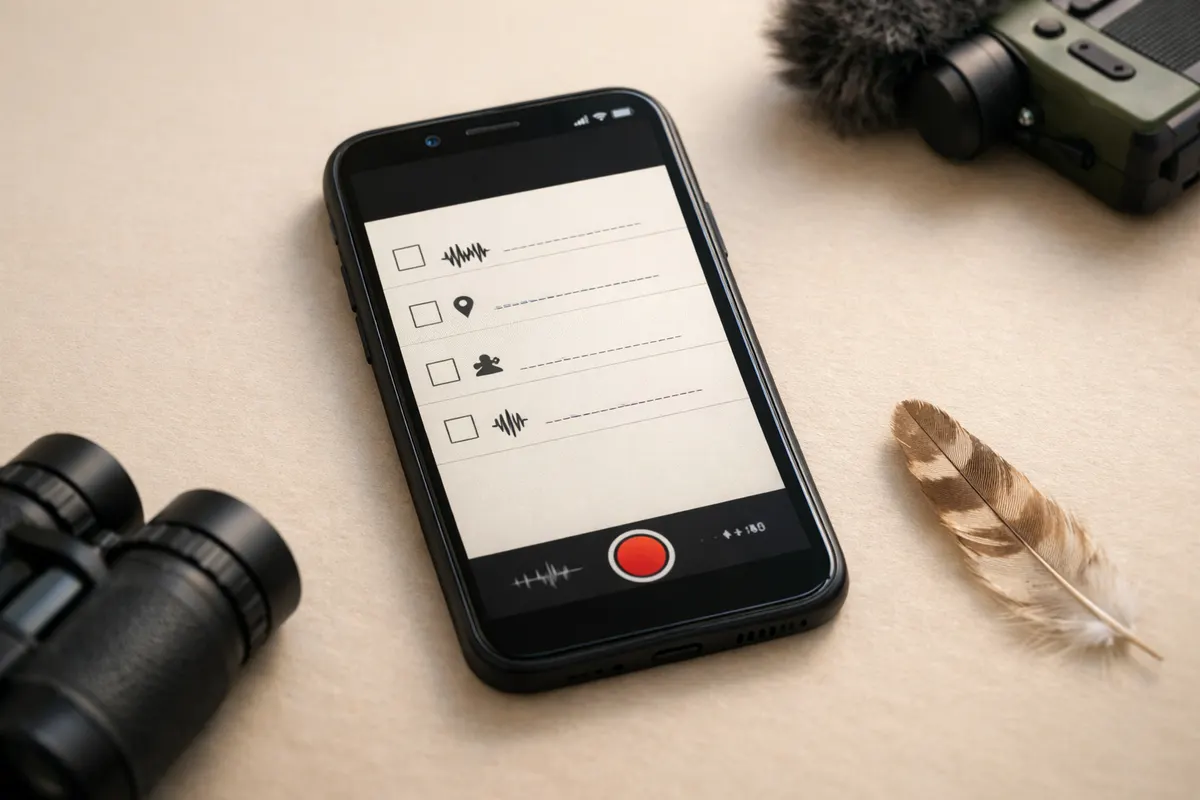
Before you scan the clip with an identification tool, follow a simple audio checklist: aim for at least 10–30 seconds of usable audio with multiple instances of the call, reduce wind and background noise where possible, estimate distance, and record the time of day and location. These items turn a noisy curiosity into data an app or human listener can actually work with.
If you saw the bird, add one or two visual clues: size relative to a known object, silhouette or shape, and behavior (foraging, hovering, perched). Those details aren’t proof alone, but combined with a better recording they help rule out common lookalikes and improve scanner confidence.
Use the checklist as your pre-scan routine: it won't guarantee a perfect ID, but it transforms an uncertain clip into a likely match or a clear reason to collect a second sample. After checking these items, you can scan the recording in Featha for a first-pass result and next steps.
Strongest visual clues
When audio alone is ambiguous, certain visual notes survive poor lighting and quick phone photos. Size is one of the most reliable visual clues: whether the bird is roughly sparrow-size, robin-size, or crow-size gives a big filter for possible species. If you can safely get a reference object in the frame (hand, fence post, car roof), include that — not to prove identity, but to narrow options.
Silhouette and posture are often more robust than color in low-quality images. Notice bill shape (thin and pointed vs. thick and conical), tail length and shape (long and notched vs. short and square), and overall silhouette (compact vs. elongated). These features are readable even from a distance or in shade.
Behavioral cues you can note quickly are extremely useful: is the bird on the ground, flicking its tail, hovering, or hopping along branches? For example, a bird that hovers briefly before dropping is more likely to be a kingfisher or certain warblers than a typical songbird. Behavior narrows the candidate set fast.
Habitat and perch choice are steady clues. Record whether the bird was in dense understory, open field, wetland edge, or urban backyard; some species are habitat specialists and that context reduces false positives from visually similar birds.
- Size compared to a familiar object (sparrow, robin, crow) — easy and highly informative.
- Silhouette details: bill shape, tail length, overall outline — resilient to poor lighting.
- Behavior: foraging style, tail flicking, hovering — helps separate lookalikes.
- Perch and habitat: water edge, conifers, open field, or yard — rules out many species.
Weak signals
Certain clues are tempting but unreliable. Color in a single phone photo is often distorted by light, shadows, or camera auto-enhance; don’t treat a faded red or bright yellow as definitive without supporting marks like wing bars, streaking, or bill color. Glare, JPEG compression, and over-saturation can invent 'features' that aren’t real.
One-angle shots are risky. A quick upward or downward angle can change perceived proportions, make tails look shorter, and hide key field marks. If you can take a second frame from another angle without chasing the bird, do it; otherwise note the angle you used so a later reviewer can account for foreshortening.
Vocal impressions from memory are weak signals. Describing a call as "high-pitched" or "weird" is useful as a conversation starter but insufficient for identification. Rely on the actual recording whenever possible, because human recall of rhythm and pitch is biased and easily mixed with other background sounds.
Avoid single, out-of-context behaviors as proof. A bird may hitch on a feeder once or make a one-off alarm call; those moments happen across many species. Use repeated patterns, consistent habitat notes, and a clean audio sample to elevate those behaviors into evidence.
- Color from one phone photo — can be skewed by light or camera processing.
- A single angle or silhouette without reference — may distort proportions.
- Memory-only vocal descriptions — unreliable compared with recordings.
- One-off behaviors or single notes — need repetition or context to be useful.
Comparison workflow
Treat comparison like elimination: start with the broadest, most reliable clues and only use weaker signals later. Step 1 — size and silhouette: categorize the bird roughly (very small, small, medium, large). Step 2 — habitat and behavior: remove species that don't nest or feed in that habitat. Step 3 — vocal pattern: compare rhythm, repetition, and length across recordings. This ordered approach reduces chasing lookalikes based on a single appealing trait.
When you have multiple candidate species, compare the recordings side-by-side focusing first on rhythm and phrase length rather than exact pitch. For example, a repeated three-note phrase with an accelerating cadence is a stronger match point than a single high-pitched note that could be background noise. Use visual notes to eliminate species with clearly different shapes or bill types.
If you recorded multiple instances, use one clear instance as your reference sample and the rest as cross-checks. Mark timestamps of the clearest phrases; even within a single five-second clip, some syllables will be clearer than others. Saving clips with a simple filename that includes date, time, and location makes later comparison much faster.
When uncertainty persists, prioritize collecting a second sample rather than forcing a speculative ID. A second recording from a slightly different position or at a different time of day can reveal repetition patterns, duet behavior, or calls the bird makes only in flight — each of which can be decisive.
- Step 1: Eliminate by size and silhouette first.
- Step 2: Cross out species inconsistent with habitat/behavior.
- Step 3: Match rhythm and phrase length across audio samples.
- Use one clear phrase as the reference clip; timestamp and label recordings.
- If still unsure, return for a second recording rather than guessing.
App workflow
After you follow the checklist, use Featha as a first-pass scanner: submit your cleaned recording and any short visual notes in the app. Treat the result as a likely match, not a final ID — an app can prioritize candidates but it can’t replace repeated, contextual evidence. If Featha highlights a plausible species, compare its suggested calls and range maps to your notes before accepting the ID.
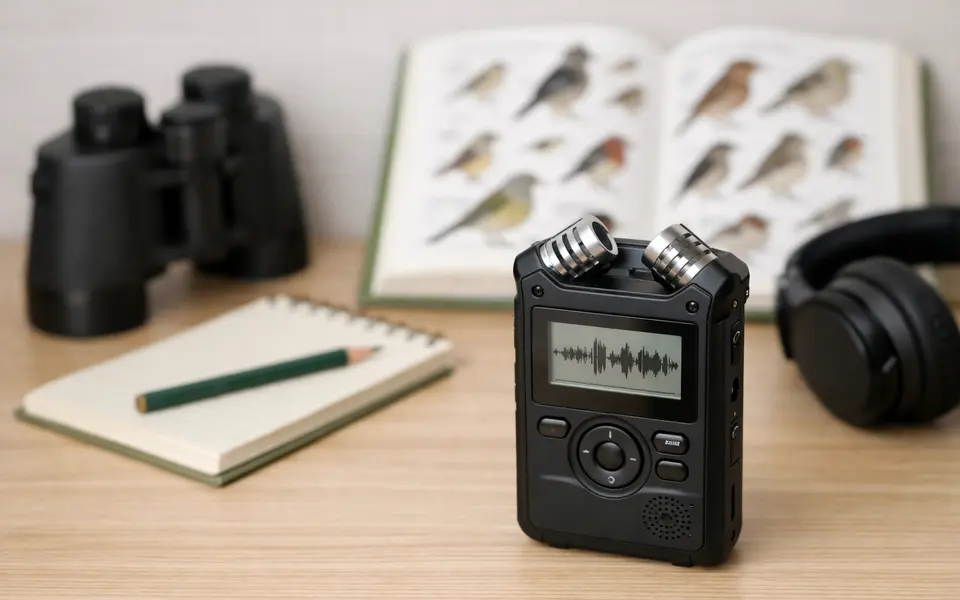
Practical steps before scanning: trim the clip to a 10–30 second segment containing at least two or three clear phrases, note time of day and habitat, and add a short text note about distance and observed behavior. If your clip contains persistent background noise (traffic, running water), note that as well; scanners handle consistent noise better than random interruptions, but transparency helps you interpret confidence levels.
If the app suggests multiple species, use the comparison workflow above: cross-check rhythm, phrase length, and any visual clues Featha lists. If the app’s top candidate doesn’t match your behavioral or habitat notes, don’t accept it without further evidence — apps are a tool for triage, not a final authority.
Finally, use the app’s suggestions to guide follow-up: if Featha returns a narrowed list, you can target the next recording session to capture a diagnostic behavior or call type (e. g. , flight call vs. alarm call). If the app can share audio examples, listen to those against your reference clip while paying attention to tempo and repeated syllables — that focused listening often separates close matches.
- Trim to a 10–30 second clip with multiple instances of the call.
- Add notes: time of day, habitat, estimated distance, and behavior.
- Flag obvious background noise so you interpret confidence correctly.
- Treat the app result as a likely match; confirm with comparison steps.
- Use suggested species to plan a targeted follow-up recording.
Try the checklist, then scan with Featha
Use this checklist to capture a clearer recording, then scan the trimmed clip in Featha for a likely match and suggested next steps. The app is a first pass—compare its candidates to your visual notes and follow up with a second recording if needed. Learn more or download the app at https://birdcallidentifier. app/.
Frequently asked questions
How long should my recording be to identify a bird call?
Aim for 10–30 seconds that contain at least two or three clear examples of the call or song. Shorter clips can work if the phrase is highly distinctive, but multiple repetitions give both apps and human listeners reliable material to analyze.
Can I identify a bird from a single photo and a short audio clip?
Sometimes — when the photo shows distinctive field marks and the audio contains a characteristic pattern. More often you’ll need repeated audio phrases and a few visual clues like silhouette, bill shape, or behavior before you can be reasonably confident. Treat the app ID as a helpful first pass, not definitive proof.
What if wind or traffic drowns out the bird call?
Move a few meters if you can and try to point the microphone toward the bird with your hand or body as a shield. Record multiple short takes rather than one long one. If noise is persistent, note it in your record and try a second session at a different time of day when background noise often drops.
Should I record in a specific audio format or setting?
Phone recordings in standard formats (AAC, MP4, or M4A on iOS) are fine. Focus on capturing clear phrases rather than changing file settings. If you have manual audio control, prioritize a higher bitrate and avoid automatic gain that clips loud notes; clipping removes diagnostic detail.